|
Hey Reader,
Introducing Tip of the Week from EngageClass! Starting now onwards, you will regularly receive one actionable tip to help you fast-track your user engagement and retention goals.
We sincerely hope that these tips act as a catalyst in helping you do more with WebEngage. Here you go!
Wish your users a ‘Happy Birthday!’ using the Journey Designer
Problem Statement
Your users share their birthdays during onboarding or any other stage in their lifecycle. But their birth dates exist in the past. For example, your user ‘James’ has his birthday on 11th Nov, 1994.
While James’s birth date is helpful to get you started, it’s not enough to wish him year on year. That’s what we are going to learn today using the Journey Designer.
How to do it?
Before you start creating the journey, you need to do 2 things:
-
Define a custom event ‘birthday’ using Rest API. You can read more about defining a custom event on the WebEngage knowledgebase.
-
Create a live segment that contains all your users with the user attribute ‘RollingBirthDate’. This attribute has the user’s birthdate set to the current year, i.e, 11th Nov, 2020.

*You can choose the user attribute and custom event names as per your choice.
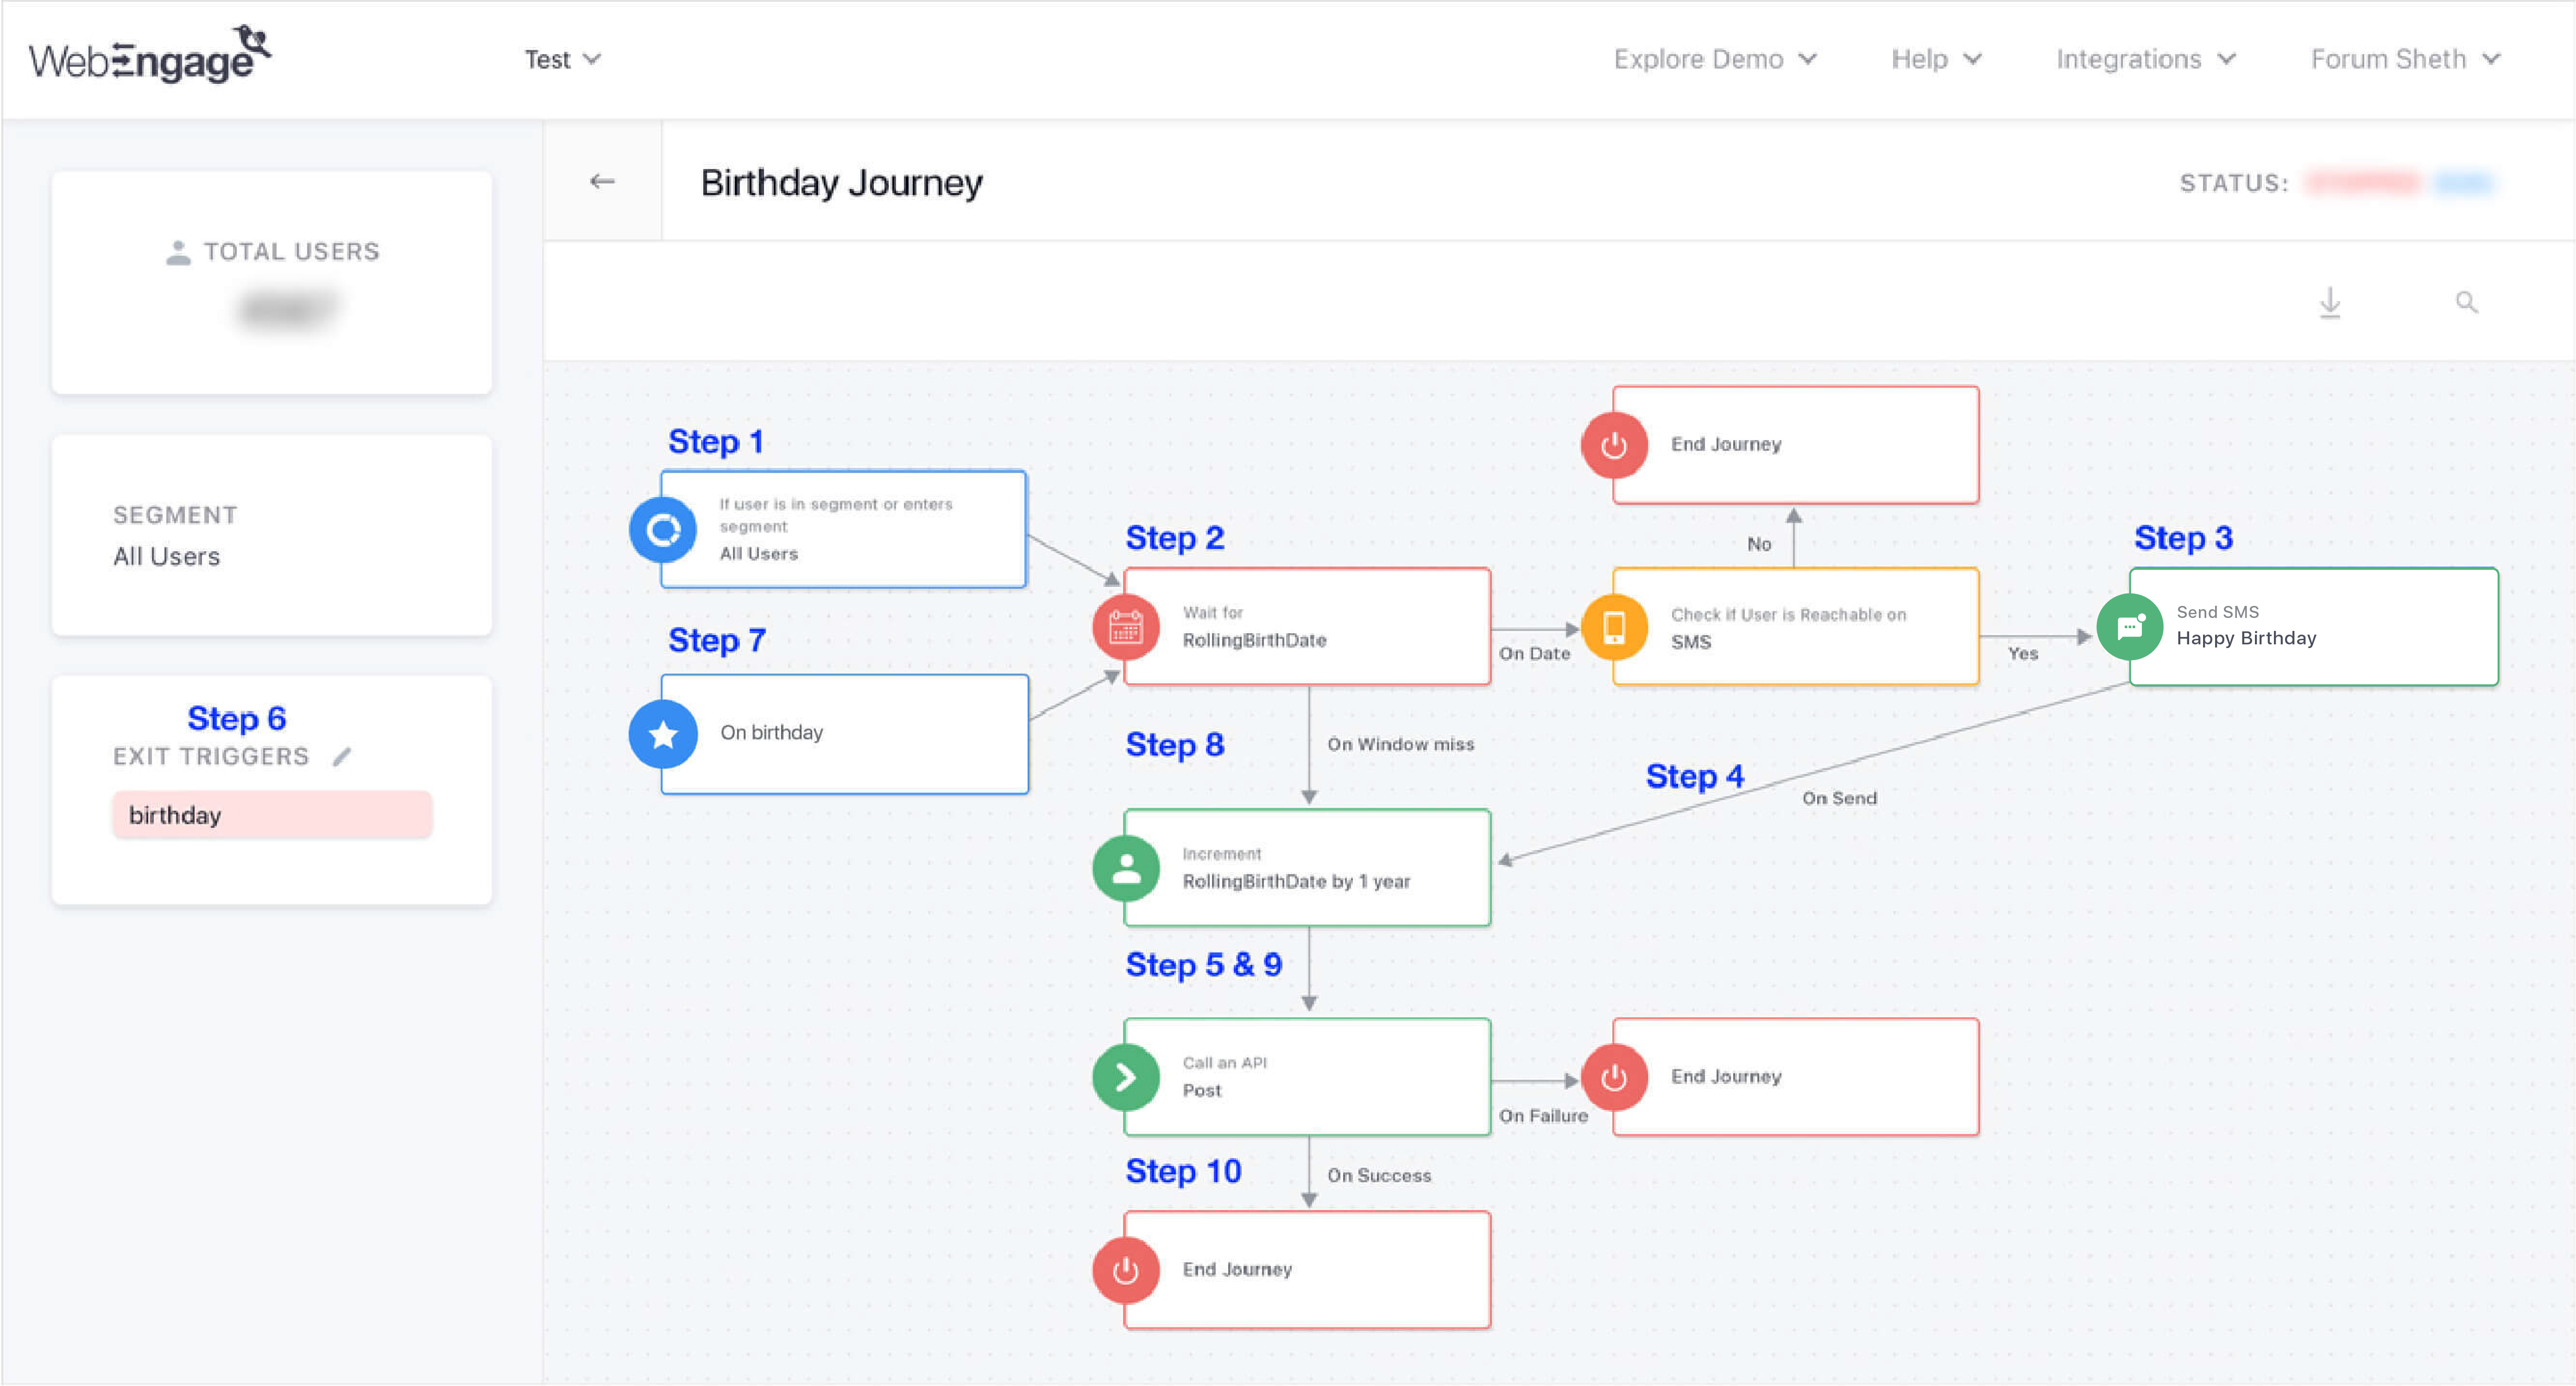
Step 1: Set a journey trigger for the above segment.
Step 2: Next, add a ‘Wait For Date’ block and set the user attribute as ‘RollingBirthDate’. This will help in triggering the communication in the next step exactly when the user’s birthday occurs this year.
Step 3: As soon as the birth date occurs, send the communication on the user’s preferred channel.
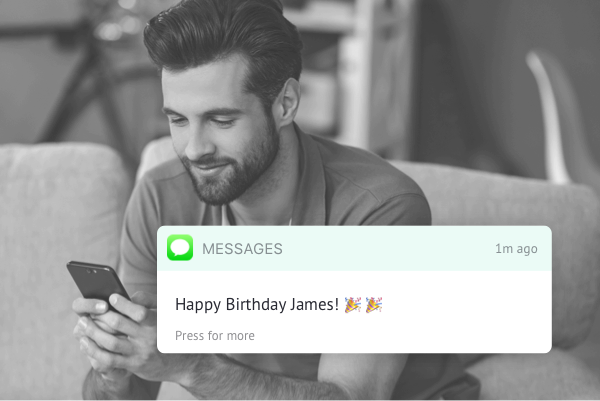
Congratulations! You just wished James ‘Happy Birthday!’🎉

Now you need to ensure you keep wishing James on this day every year, and not just this year.
Here is how you can do this:
Step 4: Upon sending the communication, use the ‘Set User Attribute’ block to increase the value of ‘RollingBirthDate’ by 1 year, i.e, the attribute is now set to the next year – 11th Nov, 2021.
Step 5: Now, use the ‘Call An API’ block to trigger the custom event ‘birthday’ for the user.
Step 6: Set this event as the exit trigger for the journey. This means that after Step 7, the user automatically exits the journey.
Step 7: Now use the same event ‘birthday’ as an entry trigger to the journey. This makes the user re-enter the journey with his “new” birthday being 11th Nov, 2021.
But what can you do for a user whose birthday has already passed this year at the time of publishing the journey?
For example, you publish the journey in May but the user’s birthday has already passed in April.
You can automate the journey for the user’s coming birthday in the subsequent year so you don’t miss wishing him.
Here’s how you can do it:
Step 8: Just extend the ‘On Window Miss’ branch from the ‘Wait For Date’ block to the same ‘Set User Attribute’ block to increase the value of ‘RollingBirthDate’ by 1 year.
Step 9: Use the ‘Call An API’ block to trigger the custom event ‘birthday’.
Step 10: End the journey and use the custom event ‘birthday’ as the exit trigger to ensure the user re-enters the journey.
By following these steps, you can wish all your users a Happy Birthday and deliver a delightful experience. Want to tell your peers about it?
Click to Tweet
Got questions? Please feel free to drop in a few lines at support@webengage.com or get in touch with your Account Manager in case you have any further queries. We’re always just an email away! 🙂
|

Customer Data Platform
Web Personalization
App Personalization
Product & Revenue Analytics
User Segmentation
 WebEngage AI
Campaign Orchestration
Omnichannel Engagement


