We’ve just released the second part of Data Management – importing Users and Events data through CSV uploads. As was the case with Part 1 of Data Management, this release also is more of a feature enhancement and UI / UX update than any change in the core functionality. There’s a Part 3 of Data Management which will follow in a couple of months time where we will further build up on the Data Management functionality. I’ll keep the Part 3 vague for now since this is a story for another day.
Why CSV uploads?
WebEngage automatically captures all your user and event data through the SDK that resides on your app or your website. However, there might be a certain list of users or events which you have in a CSV file. What do you do for cases where, let’s say the events happened in the past prior to the integration with WebEngage or let’s say that there is a list of users that you’ve acquired through offline channels or maybe there’s a mass update you need to make on the attributes of a certain subset of your existing user base in WebEngage? CSV uploads is one easy solution for all these use cases. REST API is the other solution but this generally requires the involvement of a developer.
What do I get out of it?
CSV uploads makes life so much easier for the business folks when they need to send user and events data on an ad-hoc basis to WebEngage. Period.
Now that we’ve laid the foundation of this functionality, let’s proceed to the specifics.
How does it work?
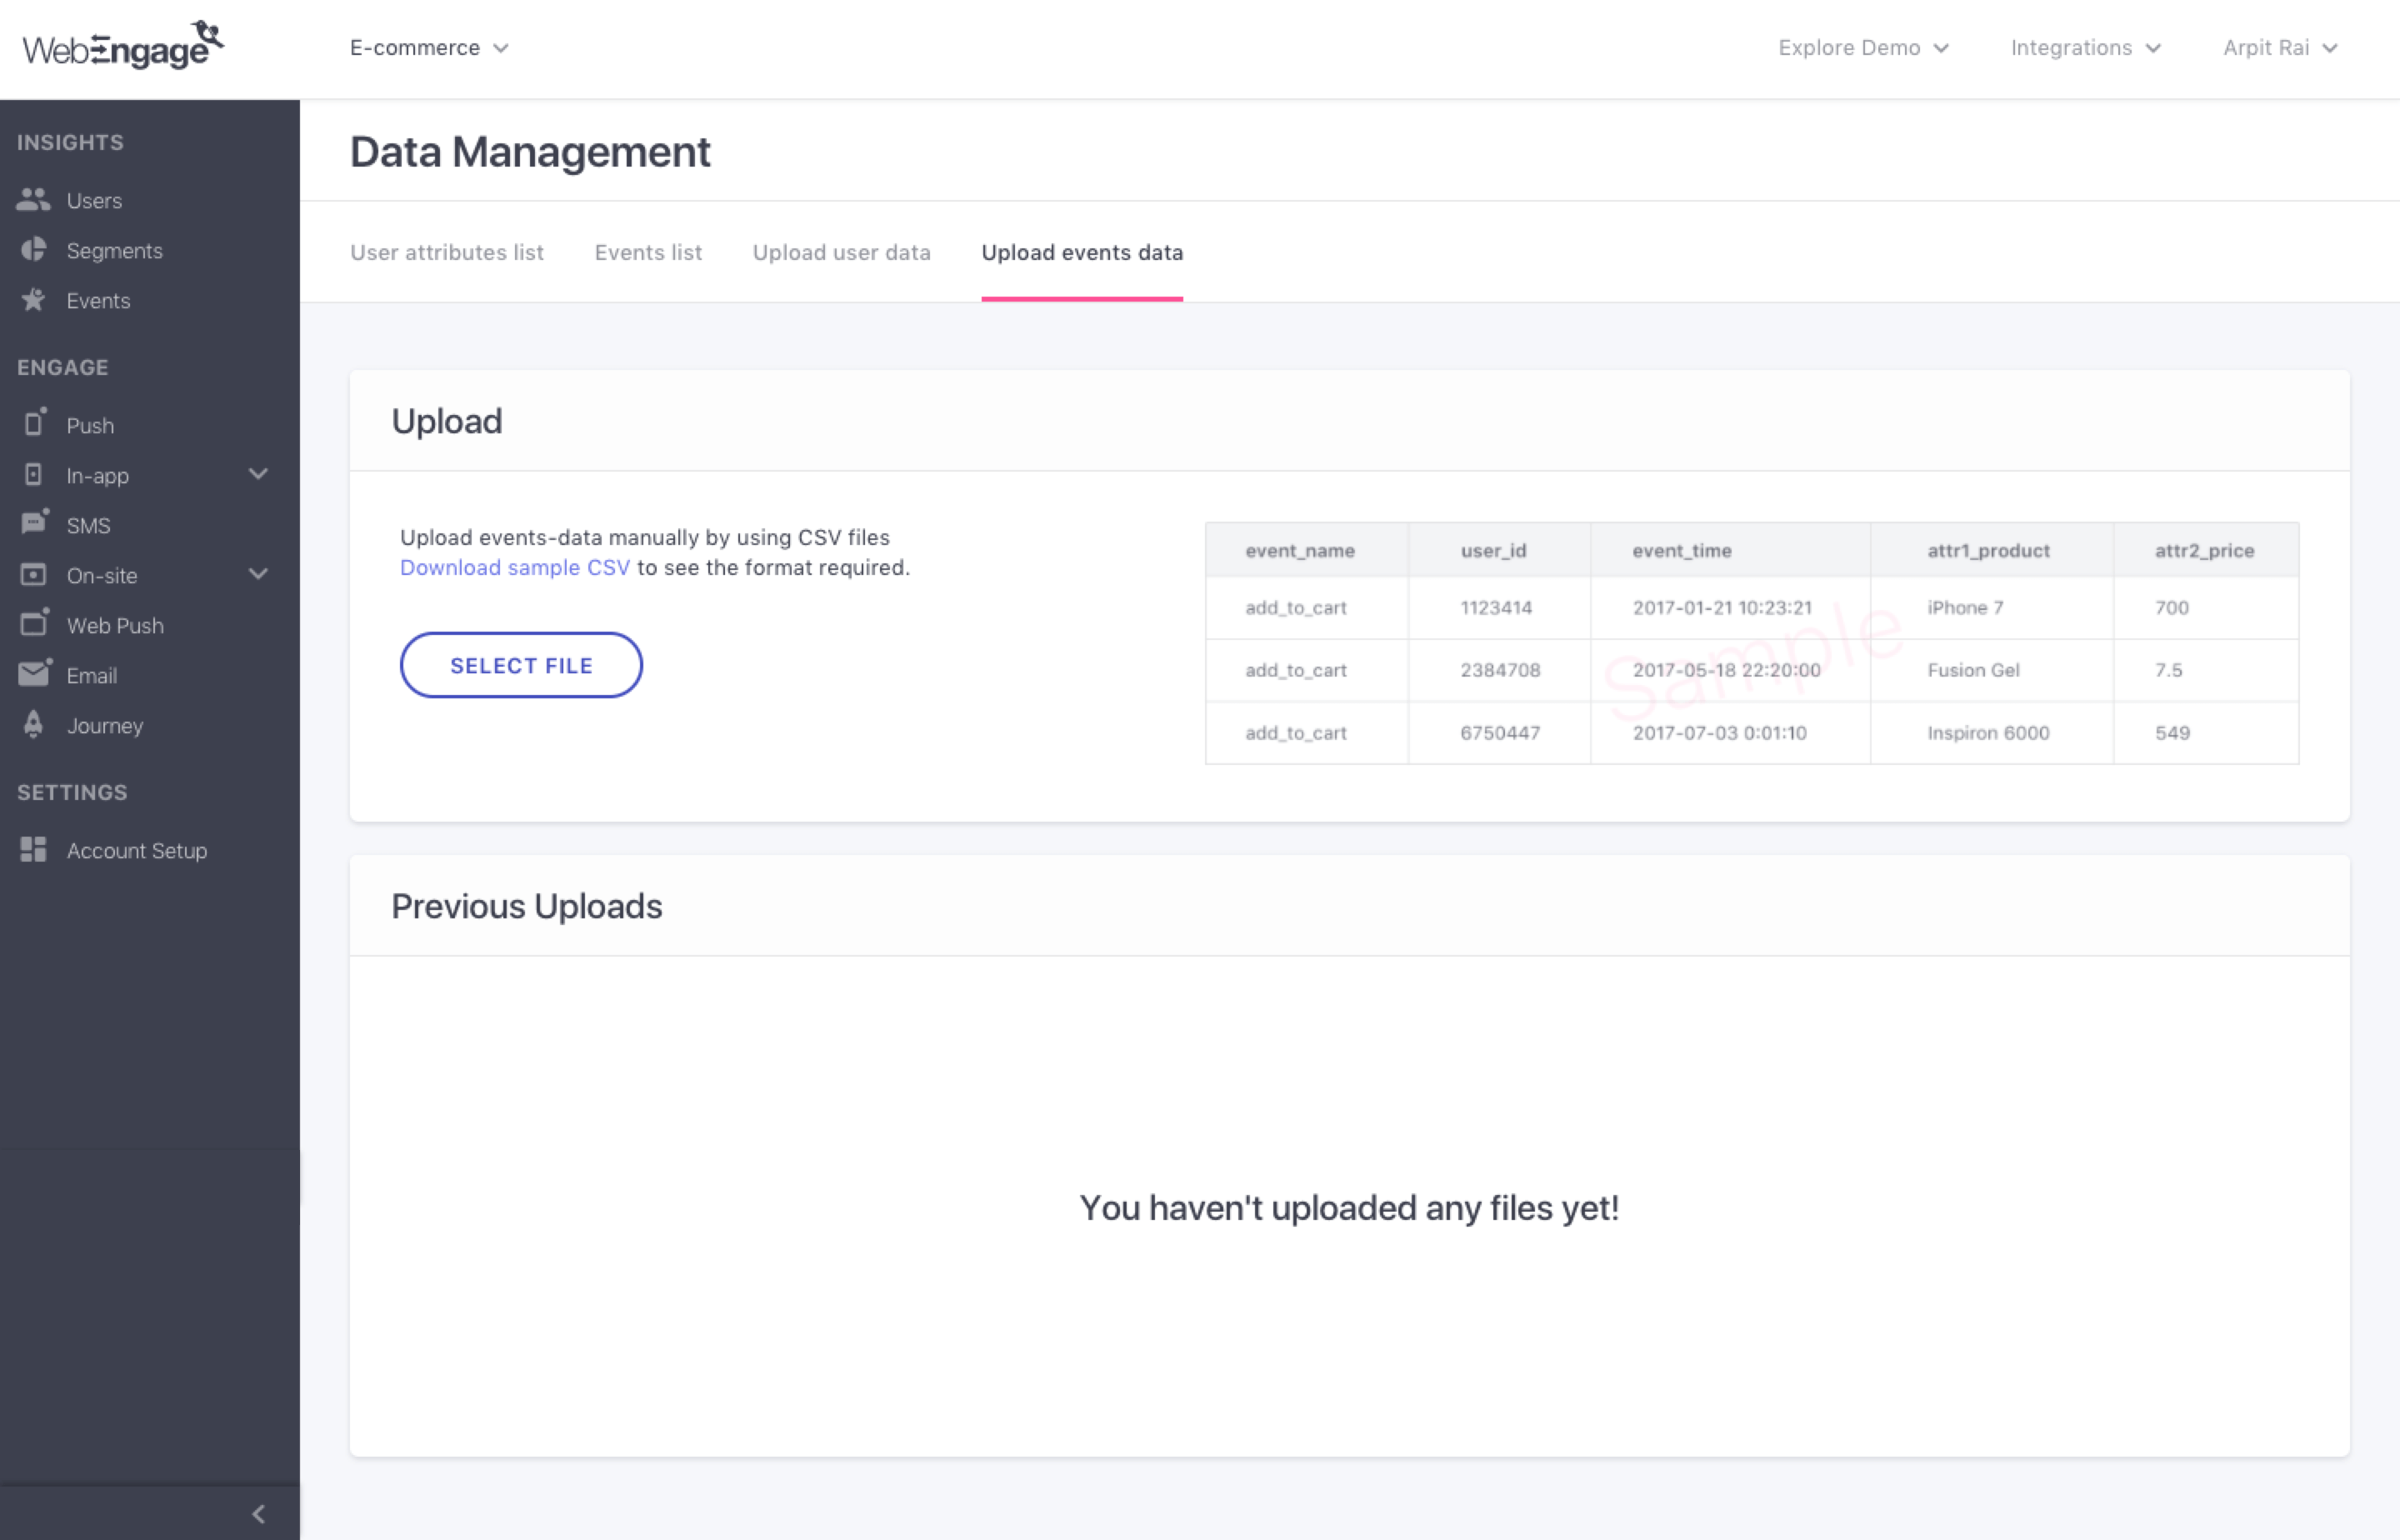
You can upload your Users CSV data (or Events CSV data) by clicking on “Upload user data” (or “Upload events data”) in Data Management. There’s a certain format that you’re required to follow for both your Users CSV file and Events CSV file:
- Users CSV: The 1st column in your Users CSV file needs to be titled “user_id” and should contain the unique user ID for each of the users in the CSV file
- Events CSV: The first two columns in the Events CSV file need to be titled “event_name” and “user_id” and should contain the name of the event and the user ID of the user that performed that event. Do note that one events CSV file can have data only about one event.

As soon as you start your upload, WebEngage performs a quick validation of your CSV file based on the first two rows of data. We do this primarily because if there are any basic errors in your CSV file, we’d rather tell you immediately than wait for the backend to do the processing and then get back to you. When there are millions of rows of CSV data to process, the backend can take a few minutes to a few hours to process all records. And who doesn’t hate waiting only to be told that were some basic errors at the beginning of the file? The basic errors could be because of any of these reasons:
(i) one or more headers were missing
(ii) there was a trailing comma at the end with no data after the comma
(iii) for an already existing attribute, the datatype of the uploaded attribute does not match that of the existing etc.
The other way, the quick validation helps you is in changing the datatype of the new attributes if you so desire. WebEngage tries to automatically understand the datatype of the uploaded user or event attribute. However, if you’d like to change the attribute from let’s say “Number” to “String”, you can do so by selecting the appropriate datatype in the dropdown.
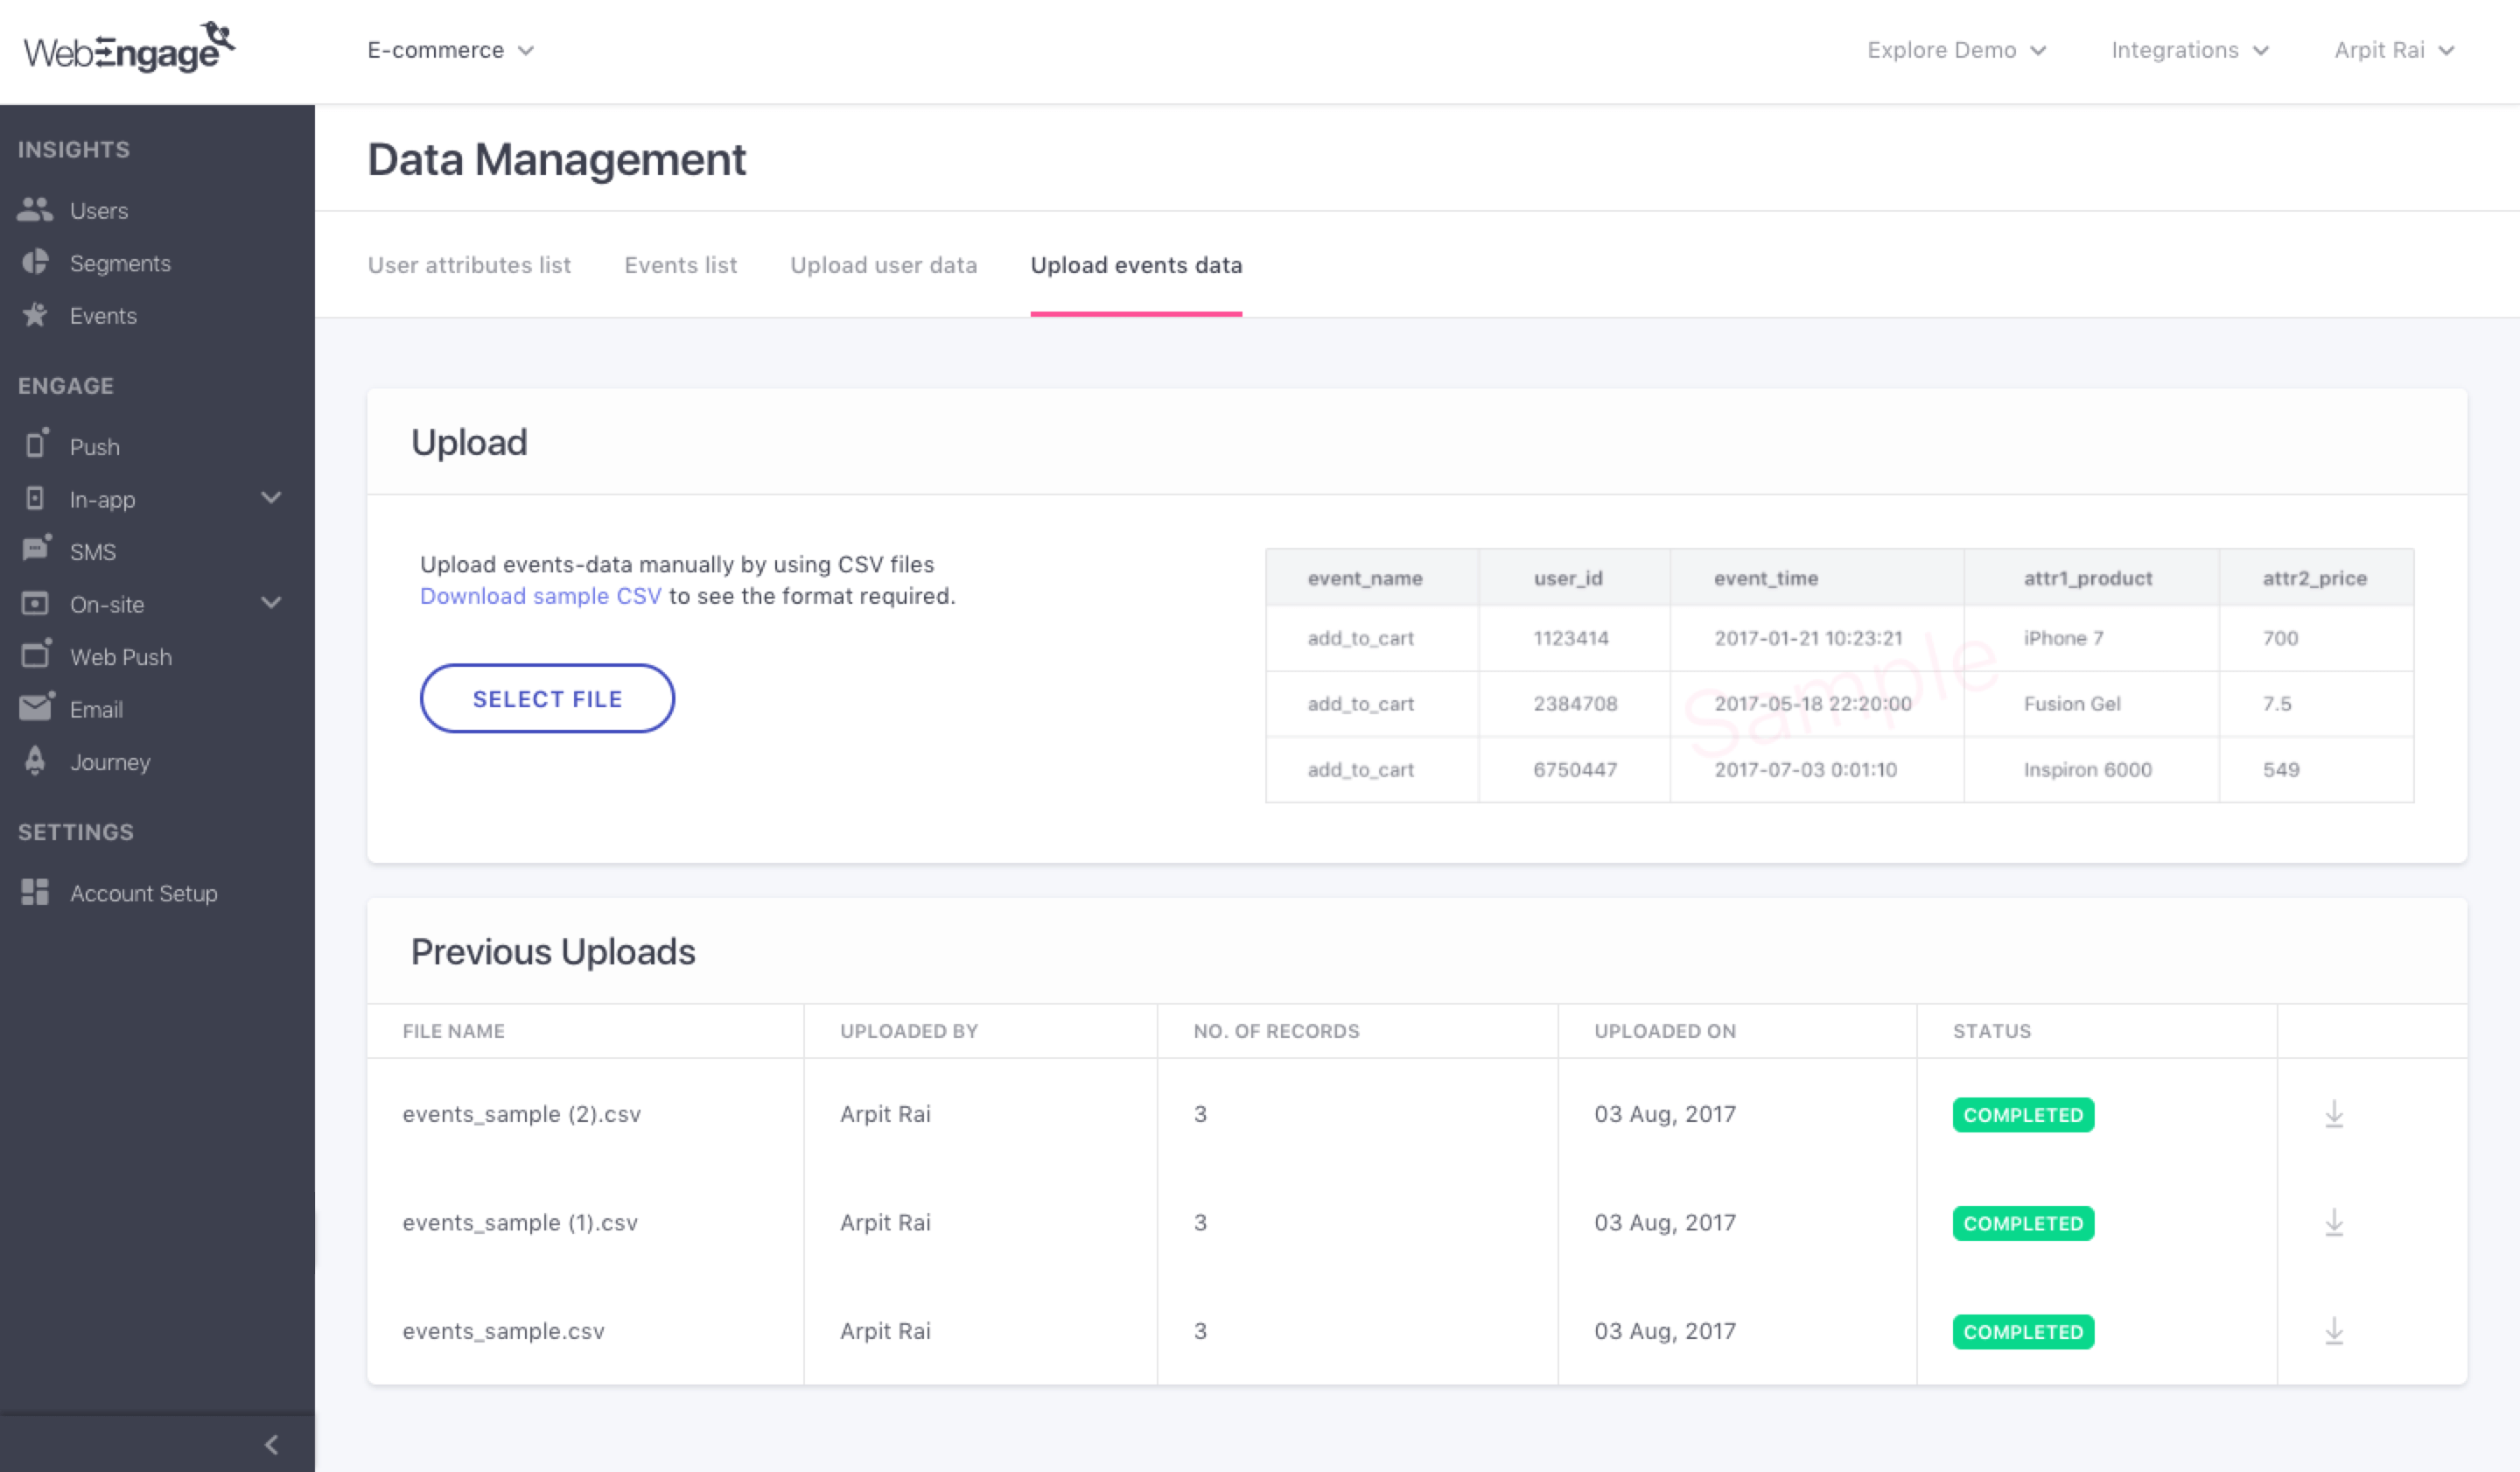
If the quick validation is successful, the file is then uploaded to our servers so that our systems can process all the records in your CSV file. Smaller CSV files with hundreds or a few thousands of rows get processed almost immediately. Larger files with millions of records can take take a few minutes or a few hours to process. You can check the status of the uploaded CSV files in the “Previous Uploads” section on the same page. If the uploaded file has any errors (eg. on the 10,001st row), then we will highlight these errors on each of the rows that has the error so that you can then quickly correct the errors and upload the corrected file.
If there are no errors, the status will show “Completed” and you can go to the “Users” or “Events” page to see the uploaded data.

A couple of quick reminders before I conclude this post. Firstly, any “Date” attribute you upload has to either be in the “YYYY-MM-DD” format or any of the ISO formats such as “YYYY-MM-DD hh:mm:ss” in order for us to detect it as a “Date” attribute. Secondly, the maximum size of the file for a CSV upload is 200MB. This should be more than sufficient for millions and millions of rows of data. I think I did mention somewhere that we’d like to make your life easier. This is a small step in that direction.
Try out our new feature and tell us what you think of it! Or request a demo from our Success team to learn more about this feature.


 Harshita Lal
 Prakhya Nair
 Ananya Nigam

